WordPress only comes with a few default post status (Draft, Pending, Publish, Scheduled) that you can use with your posts. This module allows you to create custom post status that you can use with your posts.
Activate Custom Post Status Module
In the Admin Optimizer page, click to enable the Custom Post Status module. Press Save Changes to save the changes.

Create new custom Post Status
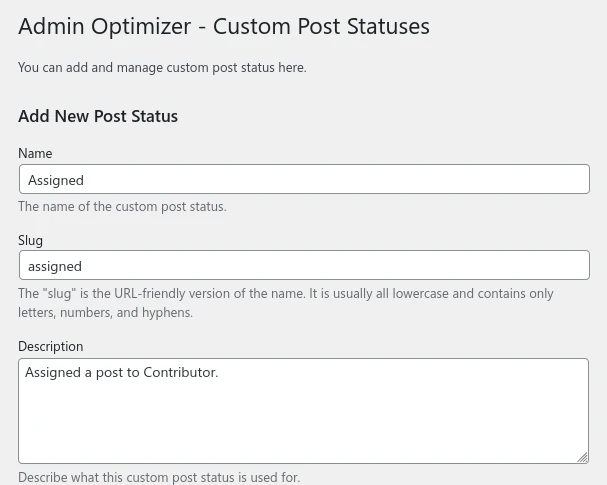
- Navigate to Admin Menu → Admin Optimizer → Custom Post Status
- Enter the Post Status’s name, slug and description. The “slug” must be in lowercase, and no space in between.
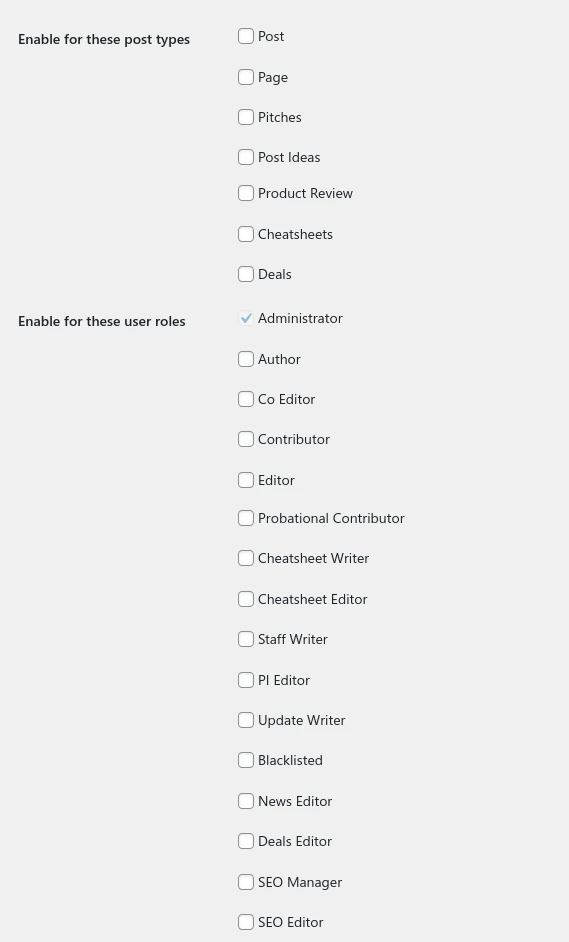
- If you are using Admin Optimizer Pro, there are additional options available. Select the Post Types to have this post status, and the User roles that can access this post status.
- Click Add New Status to create the custom post status.
Saving Posts with custom post status
When editing a post in the Post Editor, you will find your custom post status in the Post Status dropdown.
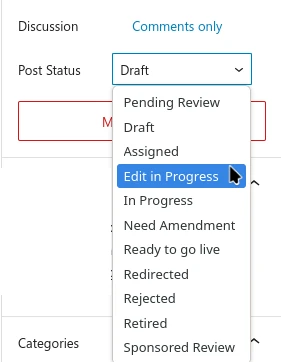
Select the custom post status from the dropdown, then click the blue link at the top to save the post with the custom post status.
