WordPress comes with the default Category and Tags taxonomies. This module allows you to create custom taxonomies and assign them to different post types.
Activate Custom Taxonomies Module
In the Admin Optimizer page, click to enable the Custom Taxonomies module. Press Save Changes to save the changes.

Create new custom Post Taxonomy
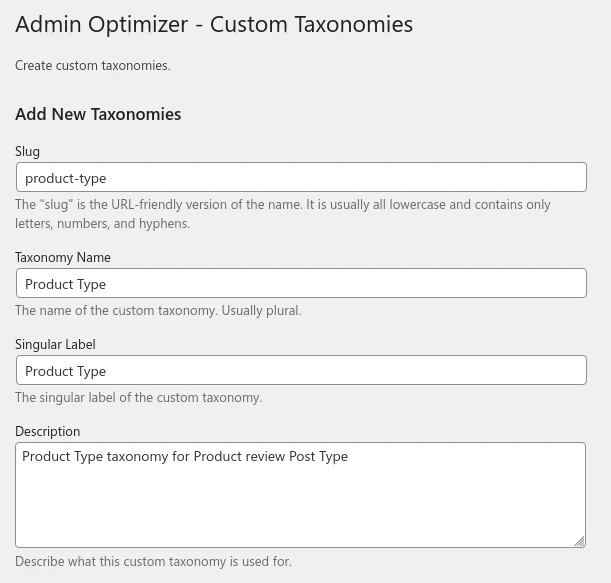
- Navigate to Admin Menu → Admin Optimizer → Custom Taxonomies
- Enter the Taxonomy’s slug, name, slug, singular label and description. The “slug” must be in lowercase, and no space in between.
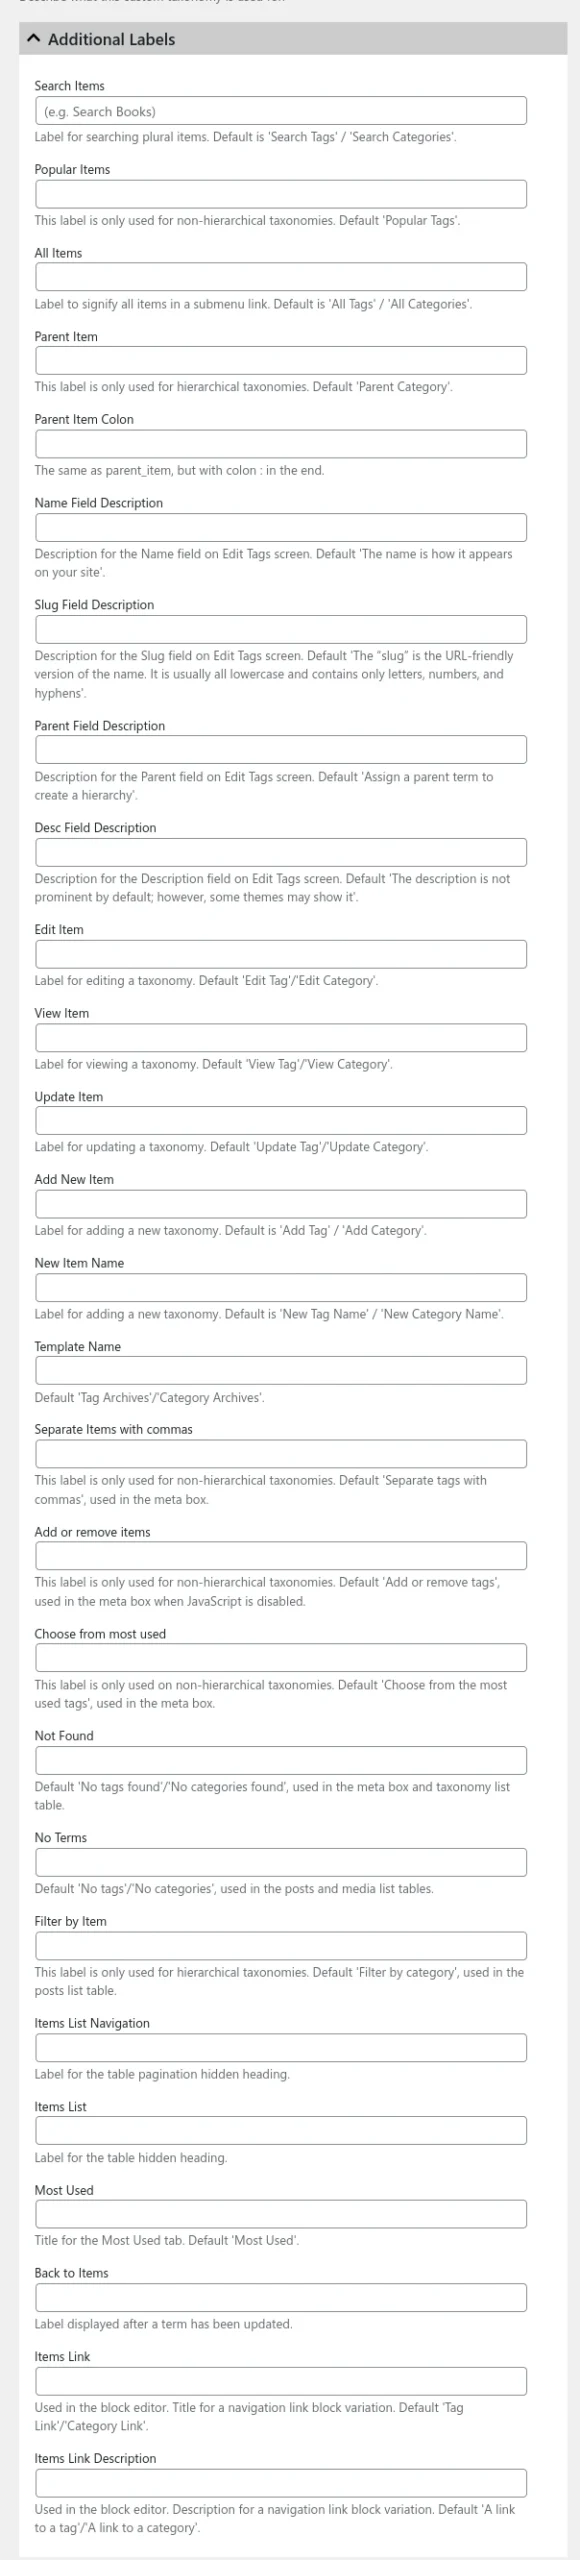
- Open Additional Labels if you want to modify the label of the custom taxonomy. Add in the desired label in the respective fields.
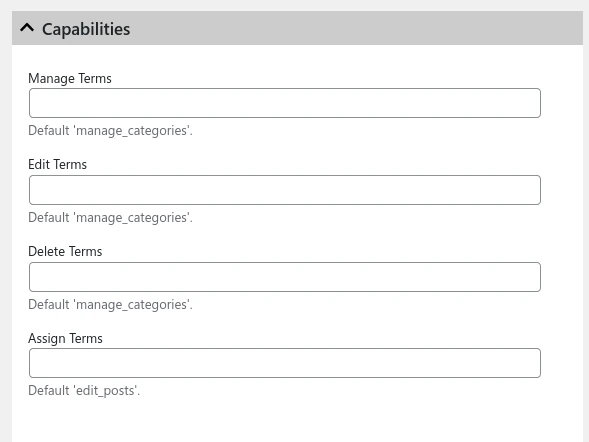
- Open Capabilities to manage the permission required to manage the taxonomy. You can add custom capabilities for the taxonomy, or leave it blank to use the default permission as Categories and/or Tags.
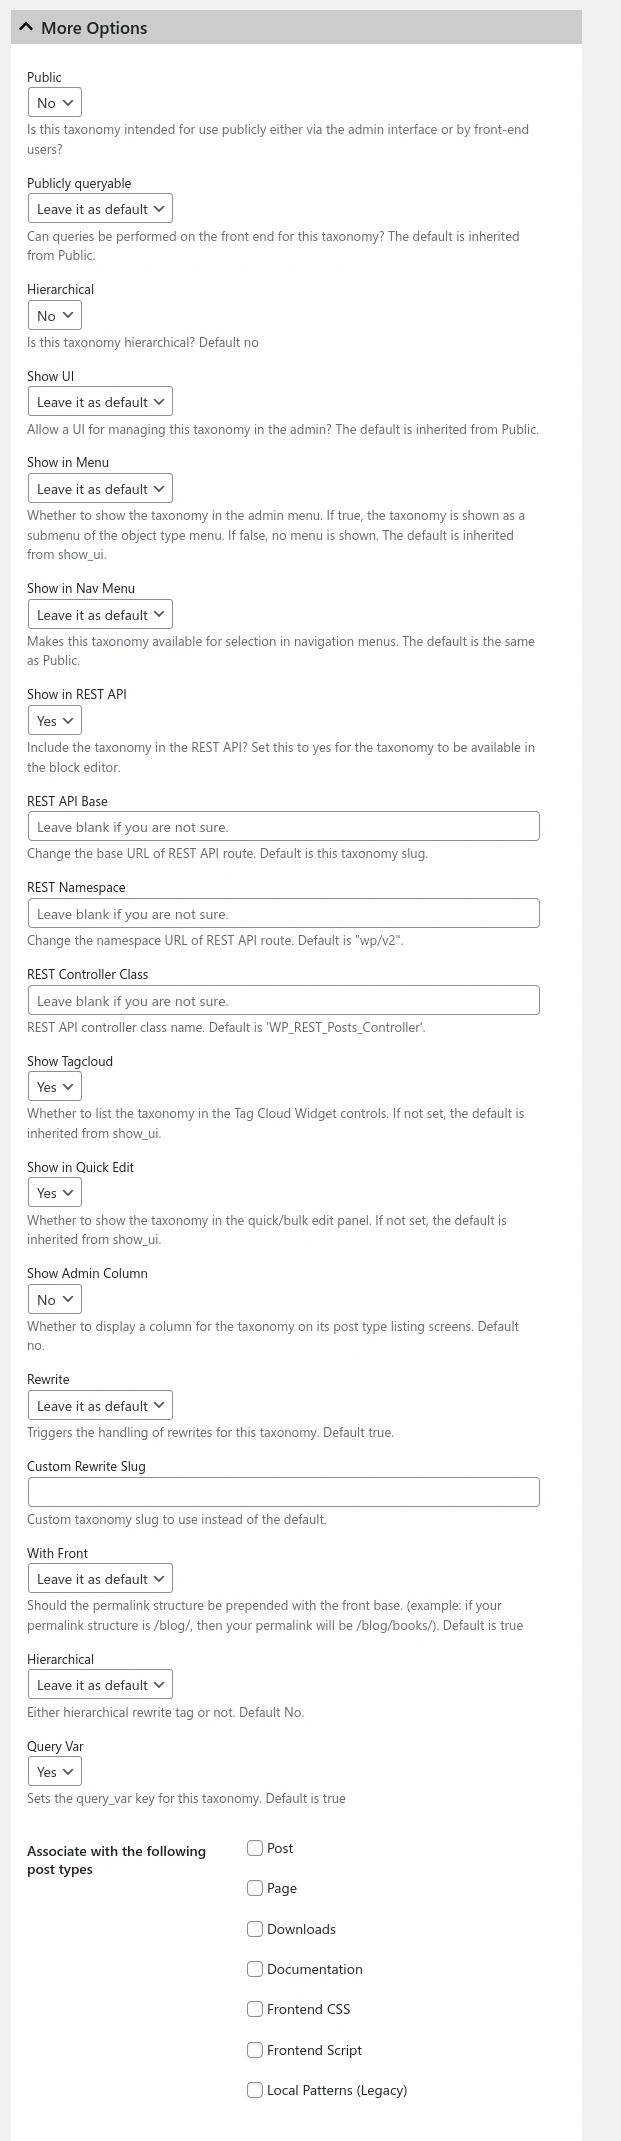
- Open More Options to customize the custom taxonomy. The few options that are important include:
- Public: whether the Taxonomy is publicly viewable.
- Hierarchical: whether the Taxonomy is Hierarchical (category-like) or not (tag-like).
- Associate with Post Types: associate the taxonomy with various Post Types. You can only use it when it is associated with at least a post type. You can also link it in the Custom Post Type module.
- Click the Add New Taxonomy button to add a new taxonomy.